Unknown's avatar

Come With Us On A Dazzling Adventure To The Bead and Button Show!

Bead and Button Trade Show 2015 Rainbows of Light Swarovski Crystals wholesale to the public

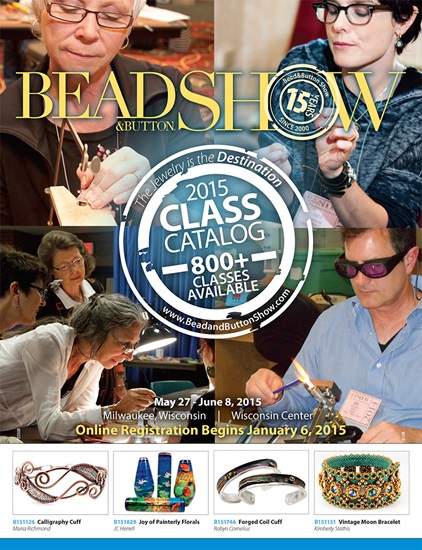
Wow! What a whirlwind adventure at the 2015 Bead and Button Show!

As you all know this was my very first trade show and it was a fabulous experience!

I grew up helping my parents with their booth at arts and craft shows around the Southwest (I was such a youngster in this biz, I spent my youth with a baby bottle in one hand and a crystal in the other) Needless to say, it’s in my blood and I feel at home meeting and helping all of our wonderful customers in person.

Bead and Button Trade Show 2015 Rainbows of Light Swarovski Crystals happy customers

I want to shout it from the roof tops…THANK YOU to our FANTASTIC customers!! I want to sincerely thank each and everyone of you who stopped by, called in or emailed me words of support. Your feedback was overwhelmingly positive and it meant the world to me!! Everyone loved the sparkly booth and seeing your smiling faces in person made it all worthwhile!

Bead and Button Trade Show 2015 Rainbows of Light

My soon-to-be sister in law Breanna from Crystal Princess and I had a ball together! We were catching up and laughing together the whole trip. She was a huge help, bringing beautiful jewelry and working with customers giving top-notch service with her gorgeous beaming smile!

She has been making custom handmade jewelry for many years now  and has extensive knowledge with all of Swarovski’s products, which was a major plus. Who knows, maybe one day she could work for us full time…now that would be a dream come true!

Bead and Button Trade Show 2015 Rainbows of Light Swarovski Crystals color combination

People loved how they could see all of the crystals hanging up instead of sifting through trays on a table. They also loved that many frames were organized by complimentary color combinations and not just by one style, that way they could create jewelry in their favorite color palette by incorporating unique styles  they had never thought of before.

Bead and Button Trade Show 2015 Rainbows of Light Swarovski Crystals Flowers

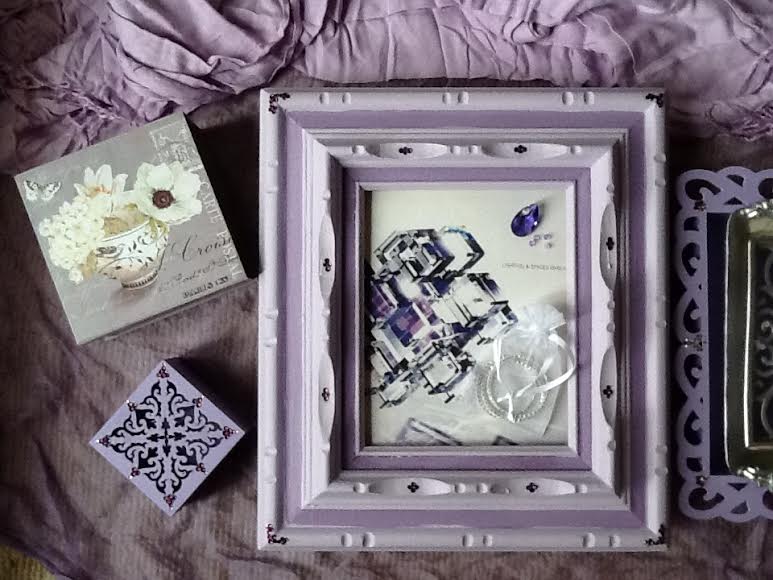
Look at this beautiful surprise I received from my super duper, always supportive, absolute best hubby in the whole world!! He’s also the most hilarious, best friend and co-owner anyone could ever ask for!!

As I was preparing for the show, I was watching a lot of Ted Talks (I find them endlessly fascinating & learn so much). I watch one entitled “The Key to Success? Grit” Afterwards, I excitedly told Mike, that’s me, I have so much Grit! From then on, my new nickname has been “Lil’ Grit” Needless to say, I was dying laughing when the flower delivery man came to the booth asking for “Mrs. Lil’ Grit”…oh boy, too funny. Time certainly flies when you’re having fun and after 18 years together, it just keeps getting better!

Bead and Button Trade Show 2015 Rainbows of Light Swarovski Crystals patina necklace

This necklace sure received a lot of oohas and aahs. I made it using the Swarovski 6106-38mm Pearshape Pendant in the new Black Patina finish. It captured the attention of many until it was joyfully bought by Gene, our very friendly AirBnB host.

Bead and Button Trade Show 2015 Rainbows of Light Swarovski Crystals Stretch Bracelets

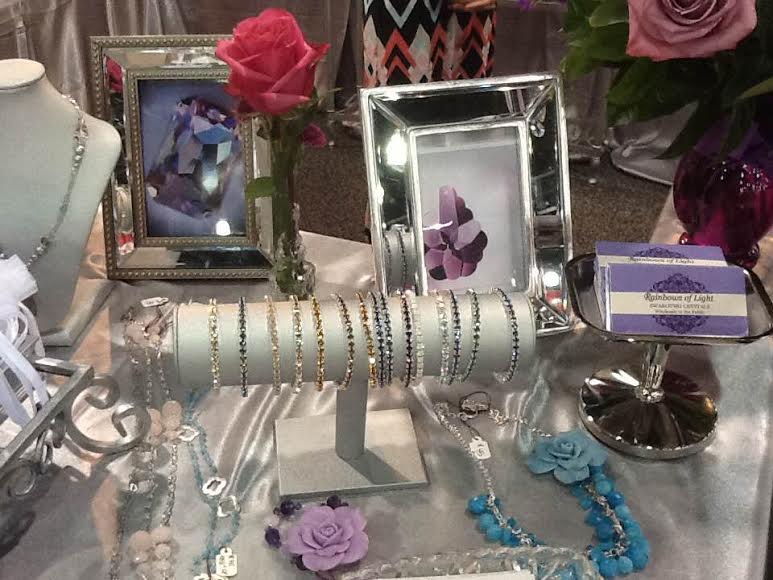
The new Swarovski Crystal Stretch Bracelets were a smashing hit! From young to old and from bead store owners to beginners, these little sparkling beauties were all the rage! They are certainly eye catching. I would definitely recommend them to re-sellers and jewelry enthusiasts alike. They make perfect gifts as well because they are 7 inches and stretch to fit most wrists sizes.

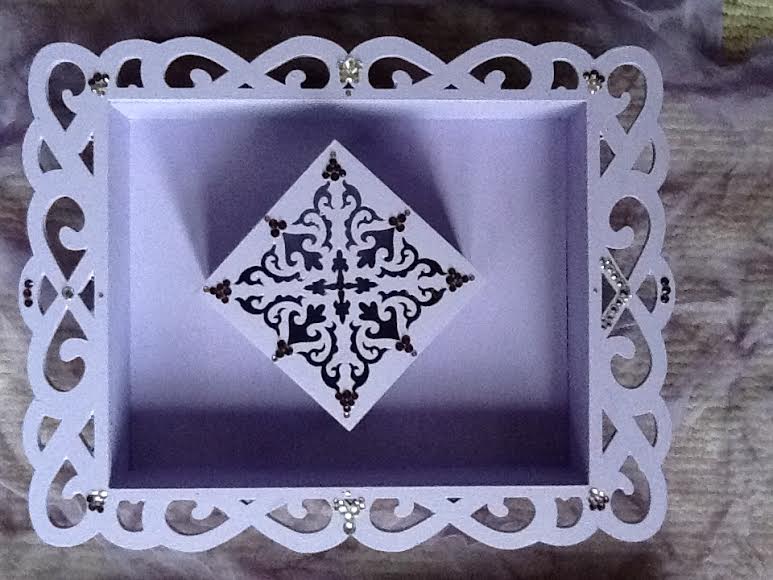
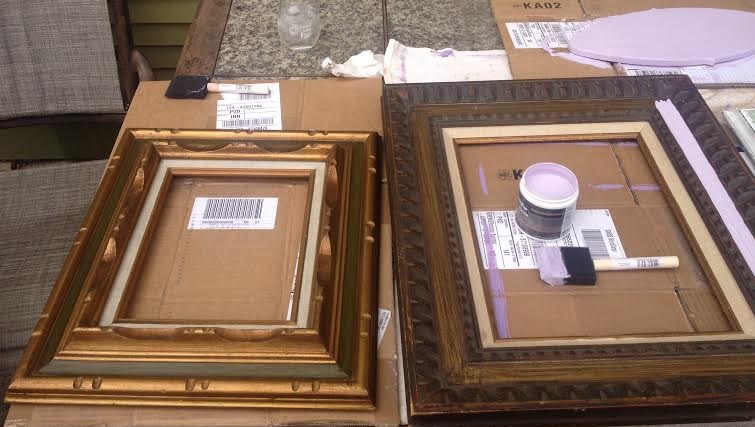
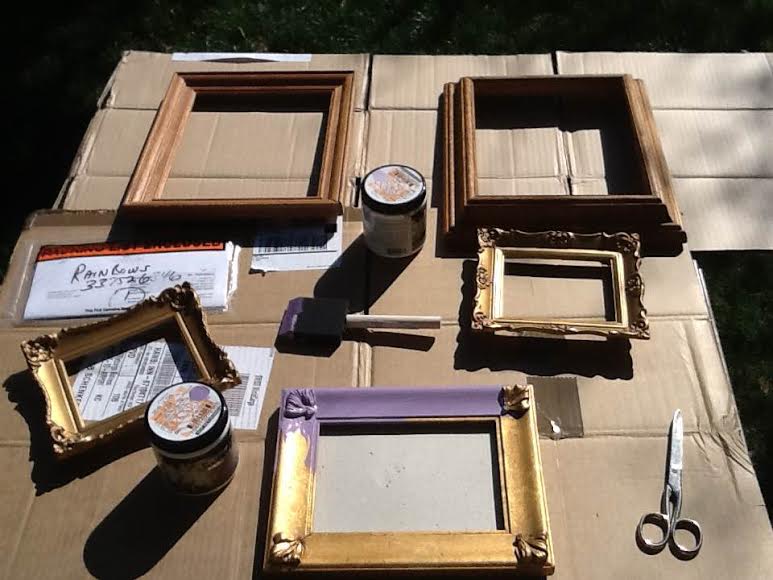
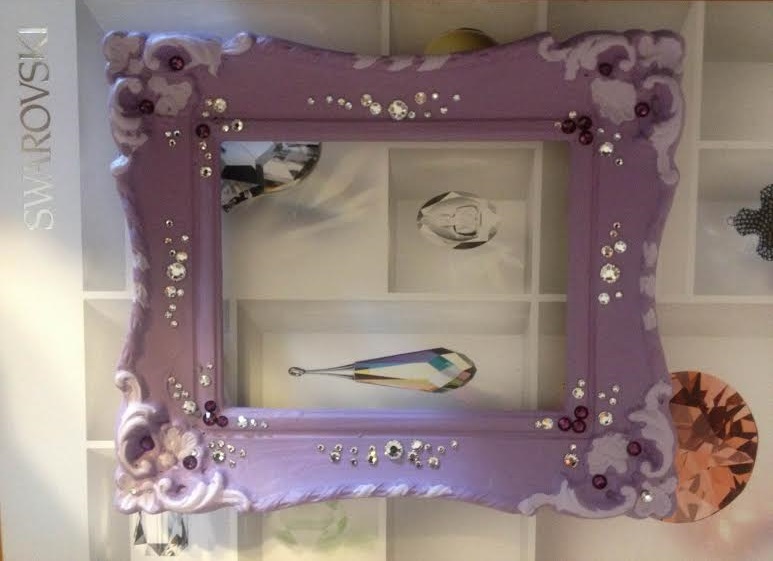
Looking back on the months of preparation; hand painting and crystalizing all of the lavender frames, repackaging crystals in new and improved bags, making jewelry, printing business cards, arranging the display and on and on (the details are excruciating to think about). 35 hours in the car, 19 hours of set up and 6 hours of breakdown… Yowzahhas, now that’s a lot of Grit! But It sure is fun to go from dull…
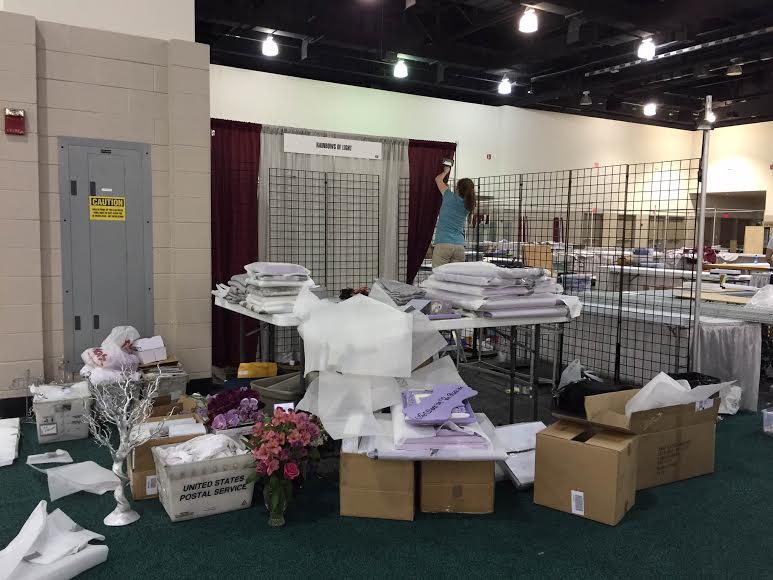
Bead and Button Trade Show 2015 Rainbows of Light Swarovski Crystals

To Dazzling!

Rainbows of Light

Thanks again for all of your love & support, I take it to heart and sincerely appreciate it!

Swarovski Violet Heart Bead

Unknown's avatar

Sparkle as You Walk Down the Aisle with These Stunning DIY Embellished Shoes!

Wedding bouquet

Gorgeous bridal bouquet from Style Me Pretty

Once in a blue moon, in the middle of an ordinary life, love comes along and catapults you into a fairy tale. Make the most of it! Sparkle with Swarovski crystals as you walk down the aisle. Twinkle as you dance the night away and shine as you hug your guests.

DIY Swarovski Crystal Wedding Shoes

These beautifully DIY Swarovski embellished shoes will complement your wedding dress as you take the first steps of your married life.

DIY Swarovski Crystal Wedding Shoes banner

Please contact us for items not listed on line, we can certainly order them for you and the setting are very inexpensive.

Article Product Group Article No. Amount Size Color Color Code

Swarovski Crystal Fancy Stones 4200 Navette 14pcs. 11x3mm Crystal 001

Swarovski Crystal Fancy Stones 4228 Xilion Navette 16pcs. 15x7mm White Opal 234

Swarovski Crystal Fancy Stones 4230 Lemon 2pcs. 19x12mm Crystal 001

Swarovski Crystal Fancy Stones 4328 Xilion Pear 16pcs. 8×4.8mm Crystal 001

Swarovski Crystal Fancy Stones 4328 Xilion Pear 16pcs. 10x6mm Crystal 001

Settings 4200/S 1PH2OH 14pcs. 11x3mm Rhodium

Settings 4228/S 1PH2OH 16pcs. 15x7mm Rhodium

Settings 4230/S 1PH2OH 2pcs. 19x12mm Rhodium

Settings 4328/S 16pcs. 8×4.8mm Rhodium

Settings 4328/S 16pcs. 10x6mm Rhodium Ceralun (A+B) Sys.# 5011395 White SP 300

DIY Swarovski Crystal Wedding Shoes Step 1

DIY Swarovski Crystal Wedding Shoes Step 2

DIY Swarovski Crystal Wedding Shoes Step 3

DIY Swarovski Crystal Elegant Wedding Shoes

STEP 1: Place Swarovski Fancy Stone art. 4228 15x7mm White Opal into the Swarovski Settings art. 4228/S 1PH2OH 15x7mm Rhodium and gently close the prongs over the stone using tweezers. Repeat the step with all other Swarovski Crystals in the material list.

STEP 2: Mix the Swarovski Ceralun® according to the package instructions. Affix the Swarovski Settings with Swarovski Fancy stones onto the shoe using the Swarovski Ceralun®. Please note that you have to glue one half of the shoe first, let it dry and then glue the other half as shown in our illustrations with this step.

STEP 3: Repeat the steps 1-2 to create the other wedding shoe.

Have fun creating these stunning shoes!

Swarovski Love Bead

Unknown's avatar

Calling All DIY Brides ~ Make Your Special Day a Little Brighter with this Sparkling Accessory!

Dog with wedding ring

What a cutie bear helping to keep the ring safe and sound.

This sweet picture was from Jason Webster Photography.

Wedding season is in full bloom and to help all of the DIY brides out there, I have a instructions for you on how to make a gorgeous Swarovski crystal head band. Make your special day a little brighter with this sparkling accessory!

DIY Swarovski Crystal Wedding Head Band Steps

Love is old, Love is new, Love is all, Love is you. With grace in your heart and a vintage-inspired Wedding Alice Band embellished with Swarovski crystals on your lustrous locks, you can be anything you want to be on your wedding day —boho chic, beautiful bride, and belle of the ball.

Swarovski crystals

Swarovski Crystal Style 3223 – 18x9mm Nevette Sew-on Stone 4 pieces of Crystal

Swarovski Crystal Style 3230 – 12x7mm Pear Sew-on Stone 10 pieces of Crystal

Swarovski Crystal Style 3254 – 20x9mm Leaf Sew-on Stone 4 pieces of Crystal

Swarovski Crystal Style 3254 – 30x14mm Leaf Sew-on Stone 2 pieces of Crystal

Swarovski Crystal Style 3288 – 8mm Xirius Sew-on Stone 2 pieces of Crystal

Supplies & Tools

Alice Band (covered with white fabric), white Leather, white 14x10cm Leather Glue (Gütermann creative HT2), Nail lacquer, white Nylon thread, transparent, 0.15mm Tools, Double sided tape, Scissors, Sewing needle, Sheet of paper, A4

Step by step instructions are at the bottom of the visuals.

DIY Swarovski Crystal wedding Head Band Piece Step 1

DIY Swarovski Crystal wedding Head Band Piece Step 1B

DIY Swarovski Crystal wedding Head Band Piece Step 2

DIY Swarovski Crystal wedding Head Band Piece Step 3

DIY Swarovski Crystal wedding Head Band Piece Step 3A

DIY Swarovski Crystal wedding Head Band Piece Step 4

DIY Swarovski Crystal wedding Head Band Piece Step 4B

DIY Swarovski Crystal wedding Head Band Piece Step 5

STEP 1: Print and cut out the pattern to the size shown in the illustration. Repeat this step once making the second pattern 1mm larger than the first one. Adhere one of the patterns to the leather using double sided tape and cut the leather piece the size of the pattern. Repeat with the second pattern.

STEP 2: Sew on all Swarovski Crystals in the material list onto the larger leather piece as shown in our illustrations.

STEP 3: Glue the smaller piece of leather onto the back of the larger crystallized leather piece. Color the edges of the prepared piece with white nail lacquer.

STEP 4: Sew the piece on top of a hairband.

 Swarovski Silk heart bead Wholesale to the Public

Unknown's avatar

Make Mom Feel Extra Special with this Sparkling Mother’s Day Gift Inspiration

Moms special day

Mom’s special day is quickly approaching!

What are you creating for your mom this Mother’s Day? Here is a sparkling design inspiration to spark your creativity.

Show your mother how much she means to you by saying it in crystal: embellish an expression of love with her favorite color of Swarovski crystals on a smooth white background, making this sparkling bangle a thoroughly modern memento of a very special day — one that your mum will keep forever.

DIY Mothers day sparkling bracelet design inspiration

diy-mothers-day-sparkling-bracelet-design-inspiration-header.png

Use Swarovski Crystal 2088 Flatbacks in whatever size you like to use (here is a helpful stone size chart). This bangle was created using the 3ss, but if this is too small for your liking, other popular sizes include the 5ss, 10ss and 12ss which all give nice detail.

The supplies and tools that you will need include: a white bangle, glue (E 6000 is popular or a two part epoxy), a paper tooth pick, transfer film, 12x4cm transfer sheet and tweezers.

DIY Mothers day sparkling bracelet design inspiration Step 1

DIY Mothers day sparkling bracelet design inspiration Step 2

DIY Mothers day sparkling bracelet design inspiration Step 2b

DIY Mothers day sparkling bracelet design inspiration Step 3

DIY Mothers day sparkling bracelet design inspiration Step 4

DIY Mothers day sparkling bracelet design inspiration Step 6

DIY Mothers day sparkling bracelet design inspiration Step 7

STEP 1: Print out the pattern in a 1:1 ratio where the height of the text is 9mm.

STEP 2: Place the transfer sheet over the pattern. Using tweezers or a glue stick, place the Swarovski Flat Back No Hotfix (this bangle used style 2000 SS03 Indian Siam) over the text.

STEP 3: Place the transfer film over the text and pull the transfer film back to get all the crystals on the film as shown in our illustrations with this step.

STEP 4: Apply two part adhesive glue onto the Swarovski Flat back No Hotfix (style 2000 SS03 Indian Siam) with a toothpick.

STEP 5: Affix the transfer film onto the bangle and press the stones gently onto the bangle. Let it cure for the length of the time indicated on the glue package before removing the transfer film.

Give this gift with joy, knowing you made it not only with your hands, but more importantly, with your heart!

Swarovski_5741-Light_Siam Hear Bead

A Mother’s Love is Forever.

Unknown's avatar

Guess Who’s Going To The Bead & Button Show This Year…A Special Sneak Peek Of The Sparkling Display!

Sneak Peak to trade show display from Rainbows of Light

(Picture of the Day from The Telegraph)

I have some FUN news to share with everyone! I will be selling all your favorite Swarovski Crystals at the Bead and Button Show in Milwaukee  this year!! Yay!

Bead and Button Show 2015

Free admission to the show this year starting Friday June 5th  through Sunday the 7th! Print out your free voucher now! I will be at booth #432 Please come by and say Hi, I can’t wait to see everyone!

I have been a very busy little bee lately preparing for this endeavor. It is my very first trade show and I am super excited!

I am a crafty lady and love DIY projects, so I am making as much of the display as I can myself. Here is a sneak peek of my painting and crystallizing projects for my dazzling booth!

Lavendar frames and crystals for tradeshow

My color palette is a variety of lavender/purple hues, silver and cream. Here is a picture frame that I found at the goodwill and painted it with darker and lighter lavender tones and added Swarovski 2088-16ss and 20ss AmethystLight Amethyst and Crystal Flatbacks to the frame. I love how it turned out (the picture doesn’t do it justice). It has an elegant, fun and whimsical feel that I just love!

DIY Lavendar frame and crystal embellished box from Rainbows of Light

I found this frame and little jewelry box at Michael’s. They were both a light unfinished wood color, which I painted and embellished with Swarovski Flatbacks using E6000 to add a touch of feminine sparkle.

DIY painting frames for tradeshow from Rainbows of Light

Here are what the frames used to look like. I scored at the goodwill finding frames from $0.99 to $4.99. All it takes is a little time and energy to paint and crystallize them, but well worth the effort. If I were to buy frames that were already beautified, it would have cost around $30-$50 each. That’s way I love DIY projects so much! It’s fun to be hands-on and creative while saving big bucks, plus you feel so much more accomplished – it’s a win-win!

DIY painting frames and adding Swarovski Crystals

More great frame finds at the goodwill…let the transformation begin!

DIY painting frames and gluing Swarovski Crystals Flatbacks from Rainbows of Light

Crystallizing in the works…It’s such a joy to see my dream coming true!

Tiered Kashi helping paws

I had to sneak in a little picture of Kashi, the best & sweetest little helper around…she’s already tuckered out with how much work we’ve been doing 😉

DIY painting frames and adding Swarovski Crystals Flatbacks from Rainbows of Light

I’m really enjoying this process. It’s extremely rewarding and I’m looking forward to bringing all of these beautiful elements together. I will keep you updated as to how the display is coming together…but even better I would LOVE to meet you in person at the show!

Definitely this is what I am looking forward to the most, is meeting all of our wonderful customers in person! Please, please, please, stop by and say Hi, I will be at booth #432…look for all the sparkles at Rainbows of Light!!

Swarovski_5741-Hear Bead Crystal_Antique_Pink

Looking forward to seeing you soon and until then…sparkle on!